
Webflow for Beginners: What to Learn First
If you’ve been anywhere near the web dev space in the last few years, you’ve probably heard of the “no-code” movement that is happening. For decades the only people who could build a website were trained web developers and the people who could hire them. Now there are tools popping up every day that make building beautiful websites easy for everyone. The problem is every other site is built on the same Squarespace template, and while branding and the plethora of customization options can certainly differentiate your site, there is a limit to how unique your website can be.
110 available Squarespace templates seems like a lot, but with almost 3,000,000 sites, that means there are (on average) 25,000 websites that look just like yours.
In search of something more unique, many designers are turning to more customizable no-code tools. Webflow is a great option for incredible customization and easy-to-implement animations, but it can be intimidating to learn, and with tons of tutorials out there it can be impossible to know where to start.
After years of working in Webflow, we’ve found ourselves recommending the same few tutorials to people over and over again and have outlined them below. Even more importantly, they are in the order we would recommend, so you move forward knowing each lesson will build on the last.
1. Learn HTML Basics
Okay, so I know this whole thing is supposed to be “no-code”, but the truth is, there is no such thing. Even working within a no-code platform like Webflow, or even Squarespace, there is a ton of code being written in the backend that you never see.
One of the biggest mistakes I see people make when picking up a no-code tool is not having a basic understanding of what is actually happening when they use the tool. For Webflow that means having a basic understanding of HTML, and how a website is structured.
Fortunately, there are now an absolute ton of tools that make it incredibly easy to brush on up the basics of HTML, so when you start dragging Webflow elements into your site you understand how to structure them in a way that makes sense for you as the developer, your clients, and Google as it ranks your site in search results.
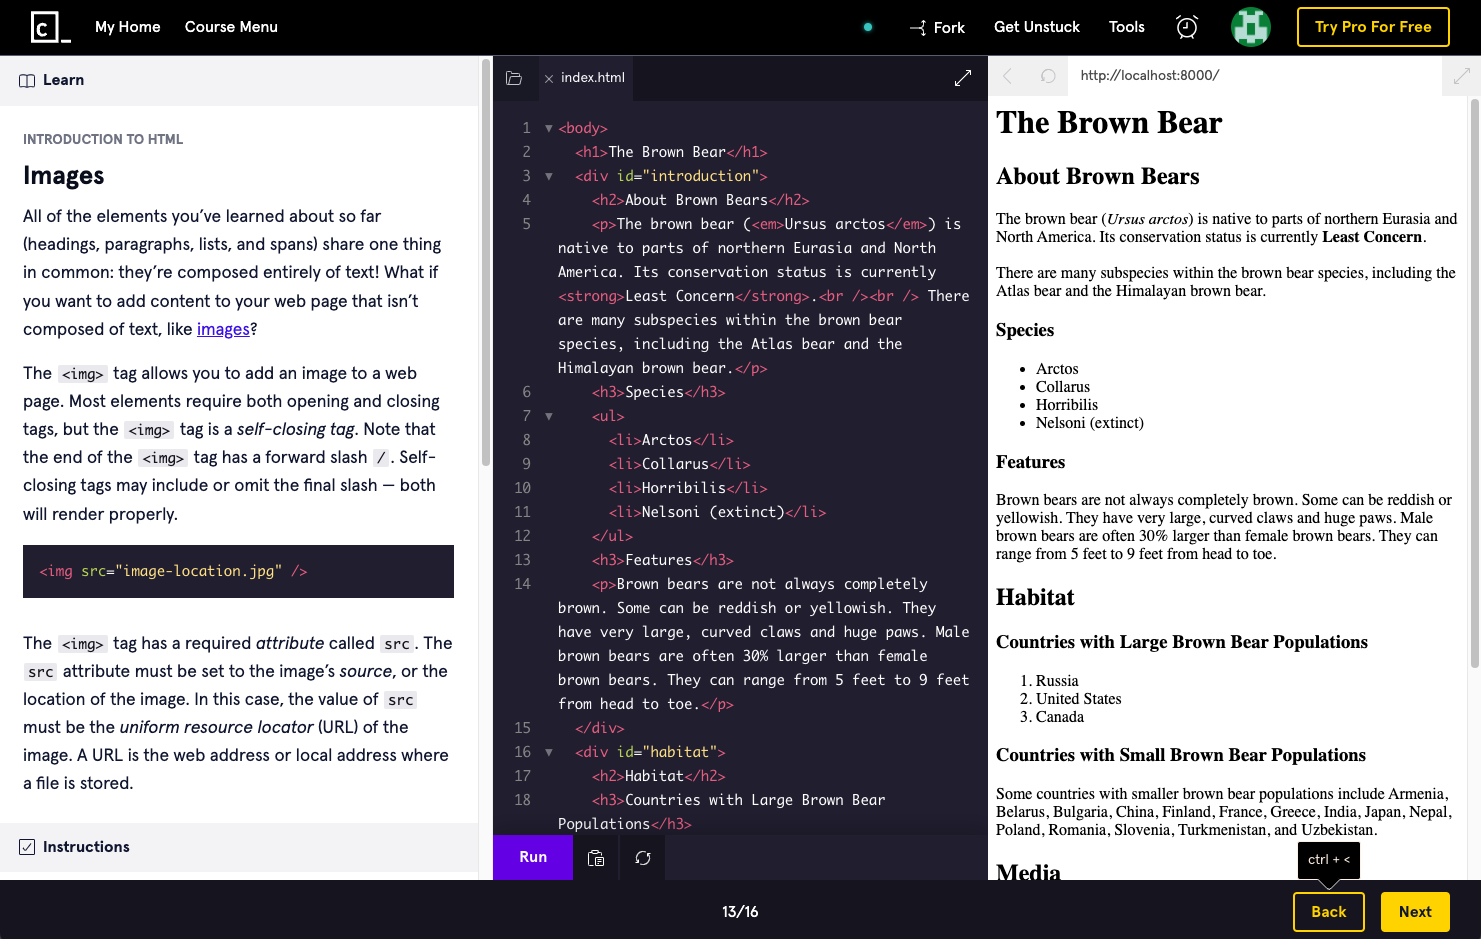
Of all the tools we have used over the years, Codecademy is by far the favorite for intro courses like this. You can get the basic lessons for free, and, especially if you don’t plan on actually coding anything yourself, the added perks of a paid plan are unnecessary for a brush up.
Codecademy estimates 9 Hours to complete the HTML course, but in our experience it can be completed in a fraction of that time.
Once you complete the course, keep their cheatsheet handy as a quick reference for the different elements you will encounter along the way.
Codecademy HTML Cheatsheet
A few other handy resources to check out:
https://www.w3schools.com/html/html5_semantic_elements.asp
https://university.webflow.com/lesson/intro-to-html-css
https://www.w3schools.com/tags/default.asp
2. Learn CSS Basics
Congrats on finishing the HTML Codecademy course, now you can... do another one. Arguably more important to understand for Webflow than HTML, is CSS. Almost everything you do within the Webflow designer is being controlled in the back end of the site by CSS, and understanding what is happening, and why, can mean the difference between a site that works right the first time and wrestling with the stupid designer until “that stupid thing stops doing that when you move this other thing.”
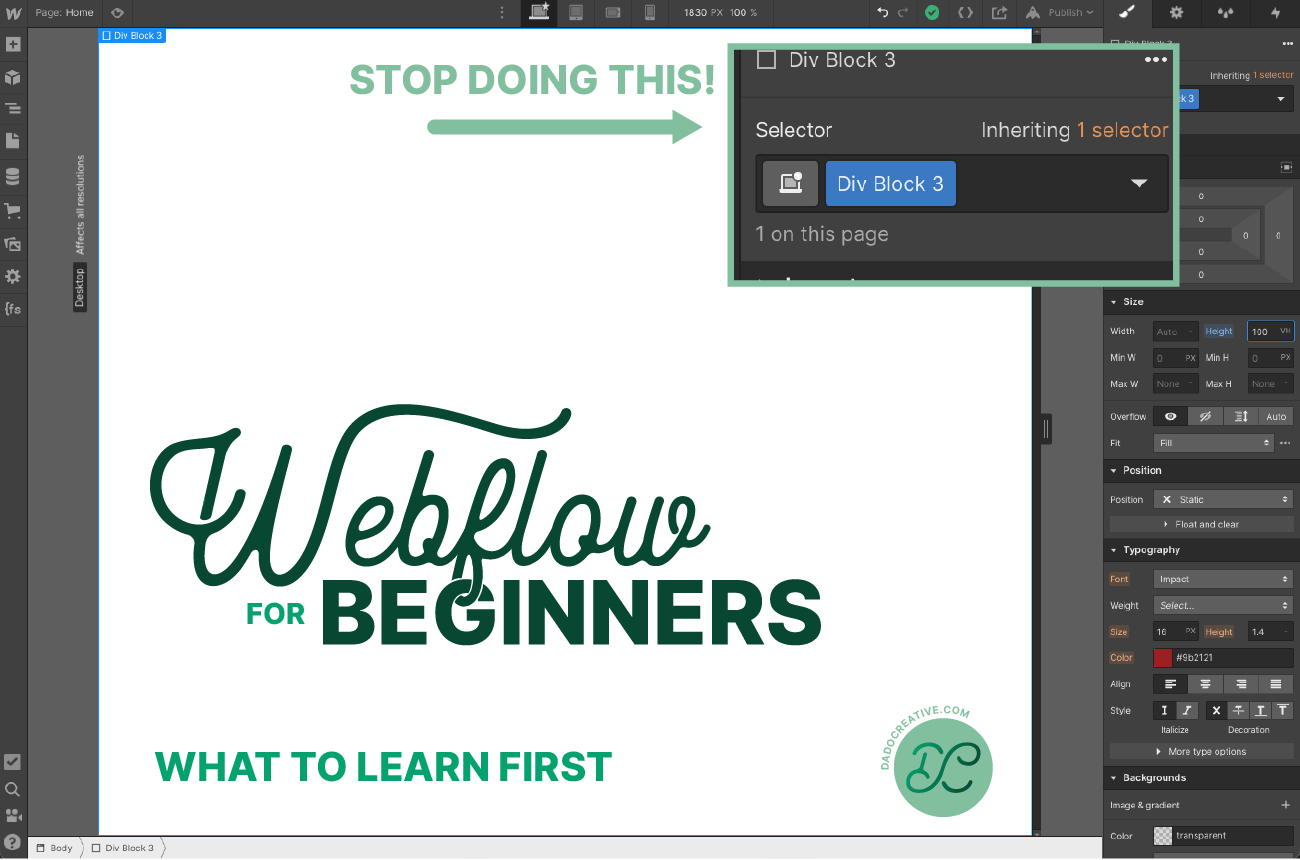
Having a basic understanding of CSS is so important to working in Webflow because, while you don’t have to actually code anything yourself, every field in the Webflow Style panel is directly controlling a matching line of code in your CSS. Instead of writing max-width: 150px;, you are finding the Max W field in the Style panel, and setting it to 150px. Either way, you need to understand what “Max Width” means in order to use it effectively.
If you skipped the video above, go watch it. Then check out this one:
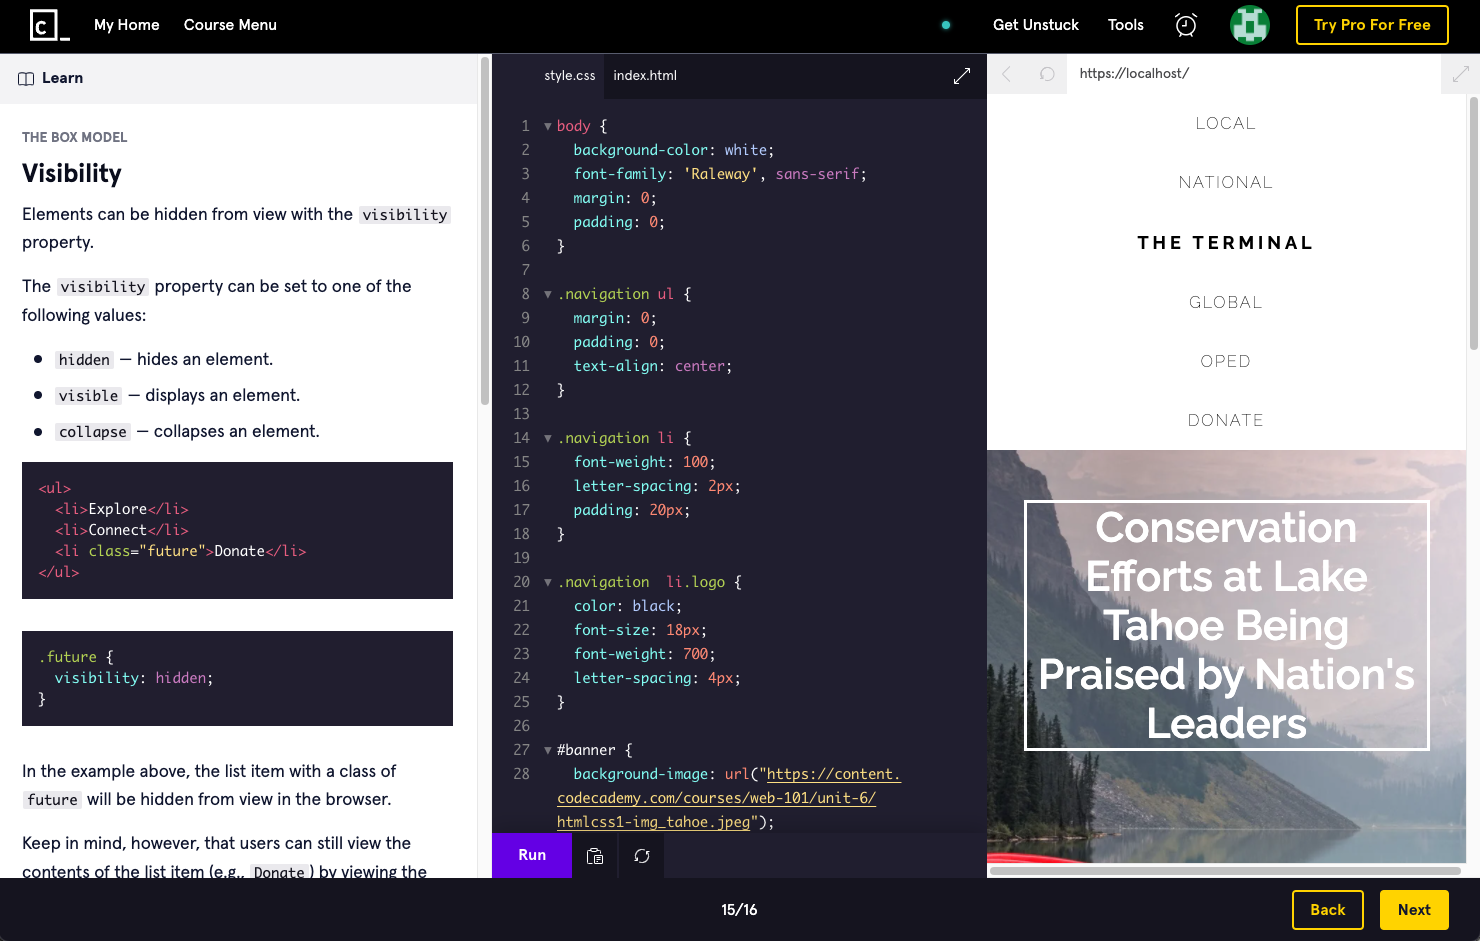
There is a well designed course on Codecademy that will get you up to speed on the basics. In particular, pay attention to the “The Box Model” and “Display and Positioning” sections. Having a good grasp on these two concepts will make laying out any site on Webflow easy to understand, and are the cause of SO MANY problems novice Webflow devs run into.
The Codecademy site estimates 10 hours to complete this course, but again, without the quizzes and projects, it takes only a fraction of that time. You can expect to easily knock out both the HTML and CSS courses in a single day.
Just like HTML, they also have a super handy cheatsheet for CSS.
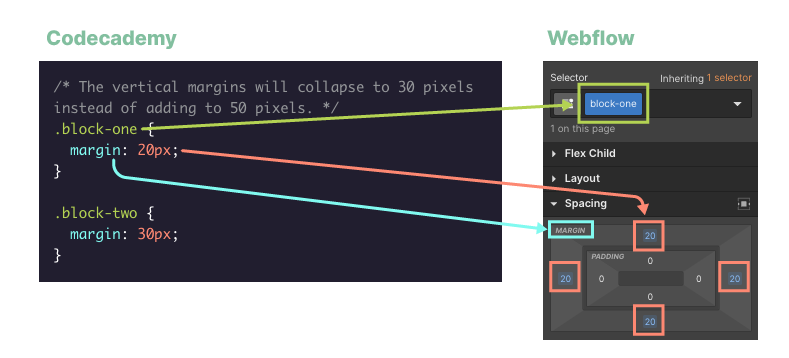
If you aren’t used to reading CSS, note that they will typically display a Class as green, a property as blue, and the value as orange. See below how that translates to the Webflow style panel.
Other useful links:
https://www.w3schools.com/cssref/default.asp
https://www.w3schools.com/cssref/css_units.asp
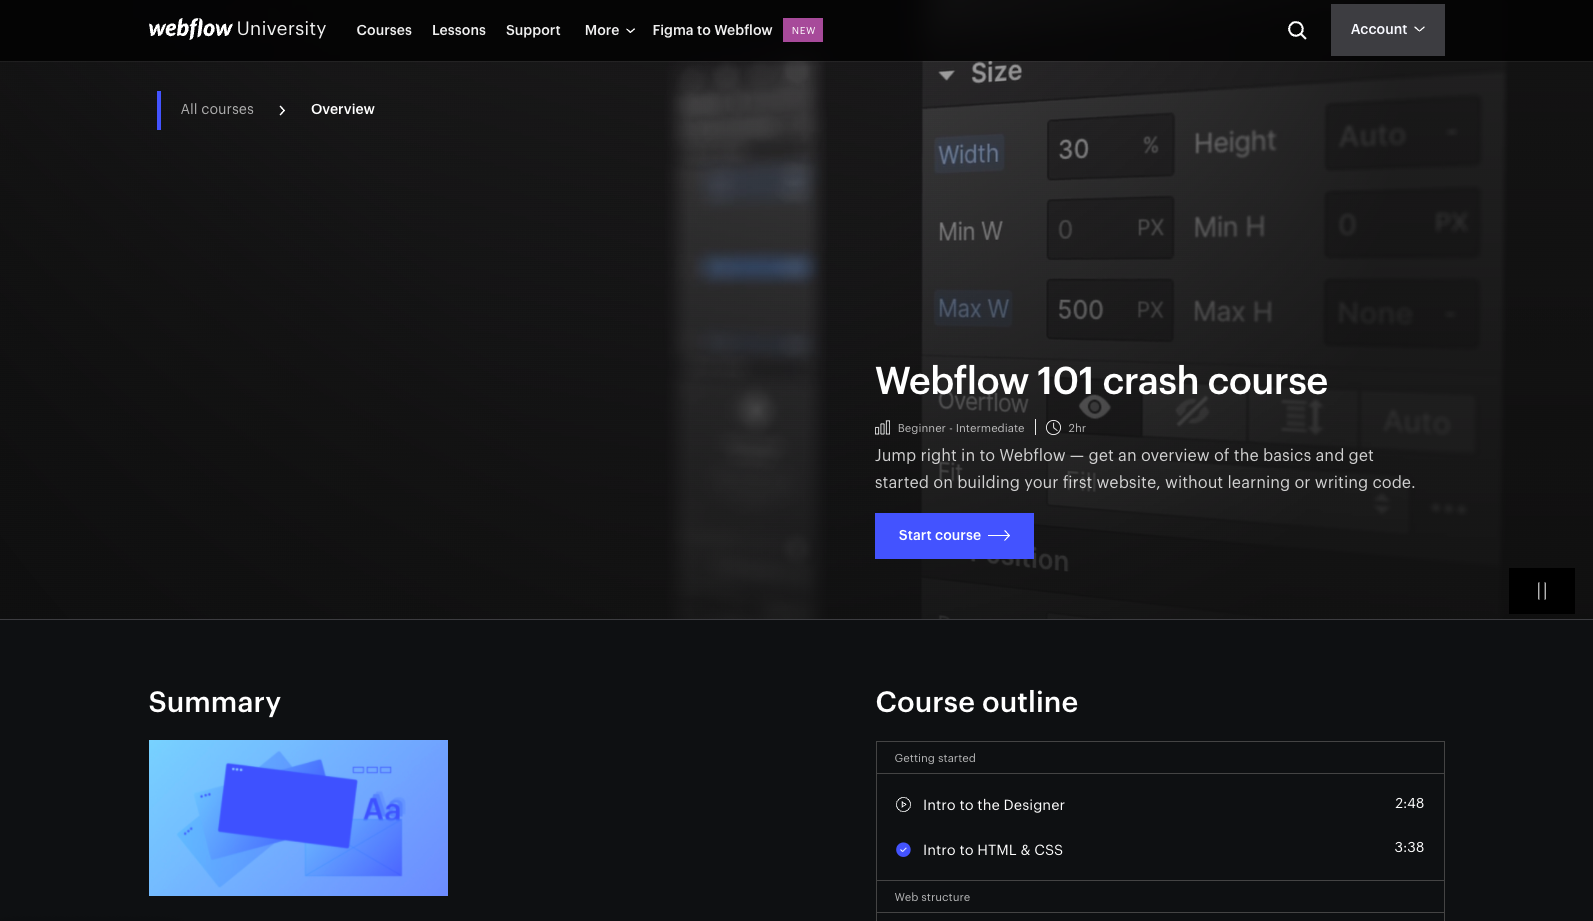
3. Apply it with Webflow 101
Now that you have a basic understanding of HTML and CSS, it’s time to apply that knowledge to Webflow itself. Fortunately Webflow has, in my opinion, the best tutorials of any platform out there. They are incredibly detailed, well organized, and engaging. If you watched the videos above, you have already seen a few of the first videos from the course, but now is the time to grab a bowl of popcorn and see everything Webflow has to offer you.
The videos take about 2 hours to complete, and we really recommend not trying to follow along the first time through. Just sit back and soak it all in. Once you start building your first site, you can come back and watch through a specific section as-needed.
Beyond the videos, the team at Webflow has created a written lesson page for each topic and video in the course. These can be incredibly helpful in diving deeper into a specific topic, or following along down the road. Just click the “Read the full article” button on any video lesson.
Before moving on, take a break from the tutorials and go mess around in the Webflow designer. We highly recommend making a “Sandbox” project to test things and play around in, and just see what you can come up with.
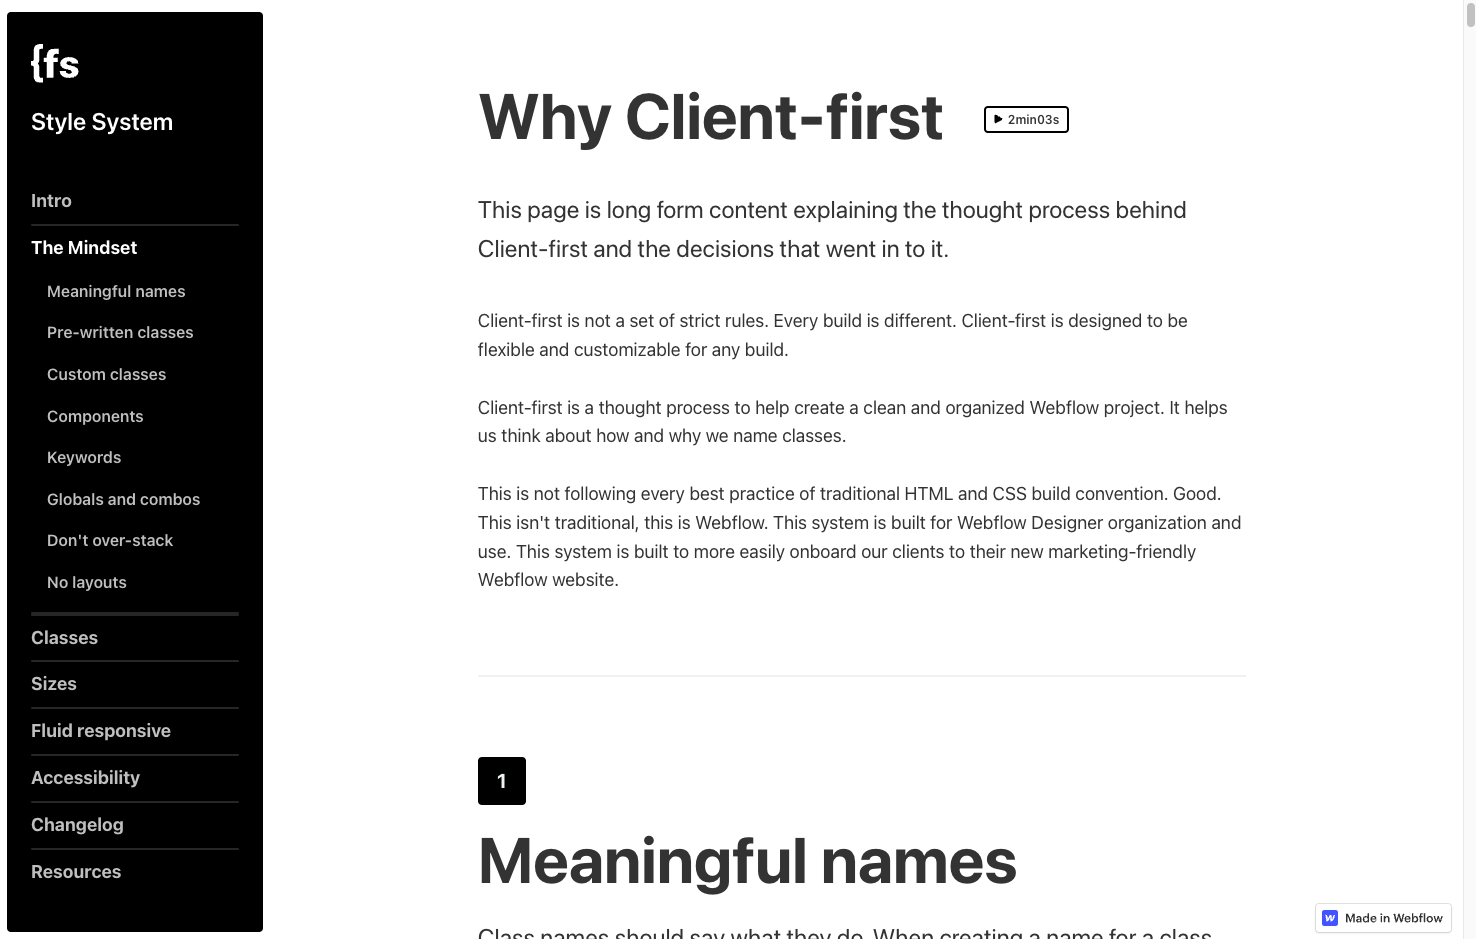
4. Standardize with Finsweet Client-First
Once you have a solid understanding of HTML, CSS, and how to build using the Webflow designer, we would recommend setting some ground rules for how you (and your team if you have one) will use the tools moving forward. So many Webflow developers, including myself, spend their first few years arbitrarily naming classes, ignoring best practices, and digging themselves into a deeper and deeper mess.
Before tackling a serious project, especially for a client, we would HIGHLY recommend setting some CSS ground rules to make sure everything you and your team build is consistent and ready to stand the test of time.
The guys over at Finsweet have created an incredibly powerful style system that we now use on every project, and we would very highly recommend checking it out. It definitely isn’t the only answer, but it has made so many headaches disappear.
They have a cloneable starter project that comes with all the styles you need to get up and running quickly here:
Once you're up and running with Client-First, it's worth checking out the Finsweet chrome extension. It adds a button directly into your Webflow designer that brings a ton of additional utility to the platform, and makes implementing the Client-First style structure a breeze.
Get the Finsweet Extension Here

Beyond Client-First, the team at Finsweet has created some incredible Webflow tools, and a whole platform of Attribute-based functionality that is worth checking out.

5. Optimize with the Relume Library
While the team at Finsweet did a ton of work to develop the Client-First system, it’s the team at Relume who really brought it to life.
The Relume Library is made up of over 650 Webflow sections that are designed to get you up and running as quickly as possible. In fact, the core functionality of the Dado Creative website was built using the Relume Library in about an hour.
There are two places where the Relume Library really shines:
1. Using the Client-First system. By using Client-First every Relume Library section is immediately consistent and easily understood by a designer. One major drawback with Webflow is that the templates are built by the community, and often follow differing systems, and standards from template to template. Building on the Client-First standard solves that, and makes creating, deleting, and styling elements incredibly straight forward.
2. Wireframe inspiration. Sometimes getting started is the hardest part. Having access to over 650 pre-built sections means you can quickly iterate on your design without having to custom build each section as you go. They have even introduced the complete Relume Library in Figma to fully streamline the wireframe to development process.
Access to the complete Relume Library will cost you $16/month (billed annually), but there is a week-long free trial to see if it is right for you.
If you have hit this point, you should be up and running in Webflow building kick-ass sites. From here, check out some of the below resources to learn even more, and we’ll do our best to keep this updated as we discover more cool stuff down the road. Happy (not) coding!
Wireframing
Relume Library Figma File Download
Webflow University Figma to Webflow Course
Interactions/Animations
Webflow University Interactions Course
Accessibility
Webflow University Accessibility Course
Ecommerce
Webflow University Ecommerce Course
SEO
Webflow University SEO Fundamentals Course
Note: This is an unsponsored, un-affiliated post. These are our own opinions, based on our own experiences. Use your best judgement if anything we recommend is right for you. :)
Interesting Things from the Recent Past
I Hate Situps // A Mental Framework to Get More Done, Better
The 3 Kinds of People Who Matter in Life // Kids are Black Holes
The 1 Life-Changing Thing I Learned from the Kolbe Assessment: a Story Mostly About Beverages
Ready to tell a better story?
Hop on a quick call with our team and see if we can help you tell your story better. If we aren't the right fit, we are more than happy to connect you to our extensive network of guides, coaches, and experts to help you with anything you need.